Your cart
There are no more items in your cart
- 1779 views
Why create a home workshop?
First, so your partner doesn’t have to share the living room with a drywall sheet and your tools. Then, a dedicated DIY workshop will make your projects faster, cleaner, and—above all—safer. With just a few square meters, well-optimized storage, and careful lighting, you can turn a forgotten corner of your home into a true creative space.
Step 1 — Define needs and location
-
Your uses: woodworking, metalwork, mechanical work, painting, electronics?
-
Available space: from 3–4 m² (minimum) to 10–15 m² (comfortable).
-
Location: garage, ventilated basement, laundry room, insulated garden shed, or a guest room (if you don’t have many guests).
-
Constraints: noise, dust, neighbors, humidity, window/door, access to outlets.
Step 2 — Design the layout and zones
For smooth organization, think “workflow”: from storing materials (raw stock) to machining, then to the finishing area, and finally to storage if needed. You’ll need:
-
A dirty zone: cutting, sanding, drilling (near dust extraction or a door/window to vent dust).
-
A clean zone: assembly, gluing, fitting on a clean table/workbench.
-
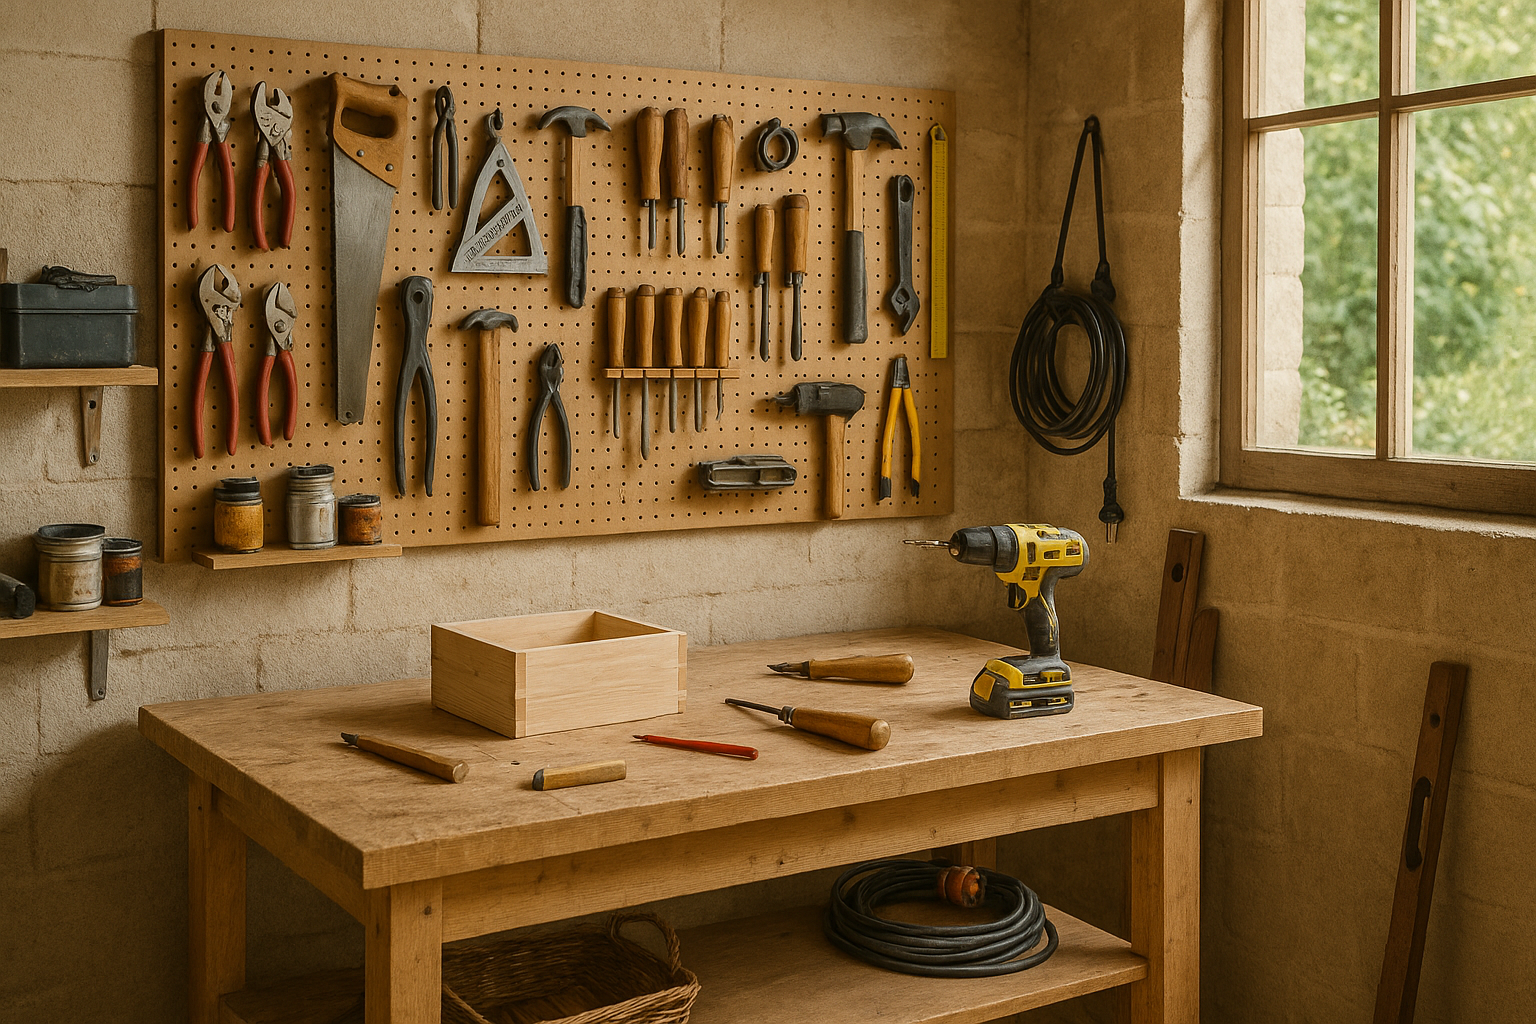
A storage zone: long wood/metal up high, hardware in labeled bins (yes, it takes time—but it’s meditative and you’ll thank us later!), tools within arm’s reach (ideally on a wall behind the bench).
-
Safety: a fire extinguisher, a first-aid kit (or at least some bandages), and an accessible main shutoff.
Ergonomics
-
Workbench: elbow height minus 10 cm (≈ 90 cm for someone 1.75 m tall).
-
Clearance: at least 80 cm in front of the bench.
Step 3 — Lighting and electricity
-
Lighting: ideally 800–1,000 lux above the bench (neutral 4,000–5,000 K LED panels) plus adjustable task lights. You can also work with what’s already in the room—the key is good general visibility and a few directional light points so you’re not stuck wearing a headlamp.
-
Power outlets: floor outlets for the vacuum and floor tools, and outlets at bench height for benchtop equipment.
-
Electrical safety: 30 mA RCD, professional-grade extension cords, cord reels with breakers.
-
Cables: ideally tidy trunking and floor cable covers. In any case, avoid a tangle of cords on the floor.
Comfort bonus: a master “workshop” switch to cut everything when you leave.
Step 4 — Dust, noise, ventilation
-
Extraction: a dedicated shop vac/dust extractor.
-
Air filtration: a small hanging air filter if you sand a lot.
-
Ventilation: exhaust to the outside, especially for solvents and paints. Otherwise optional—mainly comfort.
-
Noise control if you’d like to stay friends with your neighbors: acoustic foam tiles on the ceiling, door sweeps, etc.
Step 5 — Floor, walls, and workbench
-
Floor: resin/epoxy or PVC tiles (non-slip, quick to clean).
-
Walls: matte white (for light), washable lower section, rails for panels.
-
Workbench: thick top (beech/plywood), vise, shallow drawers.
-
Practical bonus: again, if you’re not precious about your floor or walls, you can adapt to what’s already there to keep costs down.
Finally, here's a few space-saving tips!
-
Use a folding bench and full-height wall panels.
-
Add corner shelves up high and shelves under the bench to maximize storage.
-
Install a french-cleat system (beveled battens) for ultra-modular storage—it’s a bit long to build but incredibly handy once in place.
-
Put tool modules on casters (saw, compact drill press).
-
Ceiling storage for long pieces.
-
Use stackable tool cases by family of tools.
You’ve got it ! With a bit of organization, you can easily set up an ergonomic, safe workshop to DIY efficiently! Now, it's your turn !